
Read Our Latest Blogs
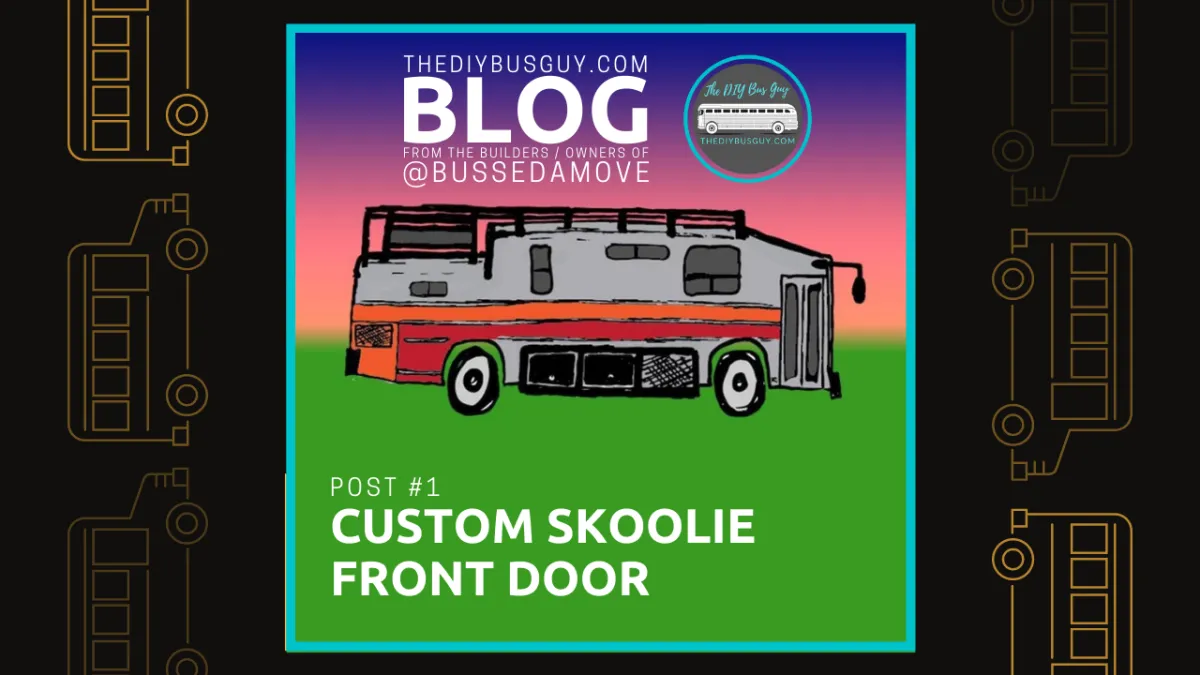
Custom Skoolie Front Door
The Plan
We knew when we bought Bussedamove that we wanted to do a single hinged front door. We also knew that we wanted to have it maintain the aesthetic look of a school bus door while gaining a greater security function as well as easier day to day use. This was a tall order but we pulled it off. Here's how.

The Door
We pulled both panels of the original door off and studied the construction of each one. We discovered that the panels were glass that was surrounded by simple, extruded aluminum. This was an easy fix. Since extruded aluminum has a slot on all four sides, we were able to pull the weatherstripping out of the middle facing slot of each half door. Next, we pulled the inside extruded aluminum rail off of the inside on one of the half doors. Then, with the freshly opened inside slot after the weather stripping removal, we were able to slide the exposed glass from the dismantled door into the slot of the other one.

Once that was all together, BOOM! We had a one piece door that still looked like a variation of a factory school bus door. The problem was that it wasn't strong. We were going to have to reinforce it somehow. We fixed that with 1/4" x 2" flat bar that was bolted in on the top and bottom and then we surrounded the vertical runs with 2" x 2" x 3/16" square tubing.
Hinge #1
The door was made but then it was time to hang it. It now weighed a ridiculous amount with about 18 feet of steel surrounding it so hanging it wasn't going to be a small or an easy task. We looked online for piano hinges and couldn't find one that would hold the weight for less than $800! That was the most underestimated part of the whole conversion so far. We went to a local industrial supply house and bought one for about $50 bucks but I had my doubts about it. When we got it home, we came to the realization that was absolutely not going to work.
Hinge #2
When we realized that the purchased hinge wasn't going to work, we went back to the drawing board. We actually draw on boards around the barn. It's like Hieroglyphics in a prehistoric cave around our barn because of all the Ghost of Projects Past on walls and scraps laying around there.
Anyway, I had the thought that there is a steel post right beside the windshield for safety and strength. If we were to embed Industrial hinges into a 2" x 2" piece of angled steel, we could weld the hinge side of the angle to the steel post and use the not hinged side of the angle as the door jamb. So we went full speed ahead with that plan. We cut a piece of 2" angle to the height of the doorway and started work on a custom industrial strength pseudo piano hinge. We did this by acquiring 6 heavy duty, ball bearing hinges from home depot. We spaced them out on our 2" angle that we had cut to length. We notched one side out of the angled steel, inserted the hinges and welded them into place. We were careful to only do spot welds to get everything held together. When the hinges were seated, we went back and welded an inch at a time on each until it was done so the angle wouldn't heat up and warp. The success of this plan hinged (pun intended) on us having a straight piece in the end that would swivel properly.

The Hang
Once our custom hinge was done, we tacked it onto the door, still being extremely cautious to not overheat and warp anything. Once the hinge was welded to the door, it was time to put it in the doorway. The hinge and door went into place easily and then it was time to shim and weld. We shimmed the door to be plumb and then tack welded the back corner of the Jamb to the steel on the bus as planned.

It was hanging where it wouldn't fall so we swung the door open. From there, a 2x4 board that was cut just longer than the doorway is wide was used as a wedge to draw up the 1/8" of air gap or slack between our custom hinge and the bus. The hinge drew in beautifully with the board and it was time to finish it off.

We welded through the holes in the hinge where screws would normally go and then went into the bus to put a seam down the back side of our hinge.

The Final
Everything about the hang could not have gone better. The door works so great and, even with the additional weight from the steel surround, it glides open and closed with effortless ease because of the good hinges that we started with when making our custom piano hinge.

The Lessons Learned
I had a gut feeling that we should do a 3" x 2" x 3/16" vertical tubing on the door handle side and 1" x 2" vertical tubing on the hinge side so that we wouldn't have any trouble getting a door knob on. I just went with 2" x 2" after all and then had an issue trying to find latches and locks that would work well. If I could do it again. I would definitely have gone with my gut. It would've been way easier to finish that way.
____________________________________________________________________
If you're looking for a solid way to make a mobile income or to make money on the road without having to actually report to a desk somewhere at an office, click here to download our free eBook called "A Guide To Making Money On The Road" to get started.


Grab Our Free Book
Join the group of over 500 people that have seen the patch to financial and location independence through our free eBook called A Guide To Making Money On The Road.

© 2023 The DIY Bus Guy - All Rights Reserved
Info@TheDIYBusGuy.com